OK so I need your help. I literally coded this last night, and I think it’s amazing. But Justin isn’t so sure about it. So I want you guys to try it and give me feedback below.
Step 1: Create a Zapier account. Think of Zapier as the brain of everything. It takes information from one site and “Zaps” it to another.
Step 2: Accept my invite. Because we are new to Zapier they make your app hidden until a bunch of users have used it. Clicking that link and accepting allows you to use RocketResponder
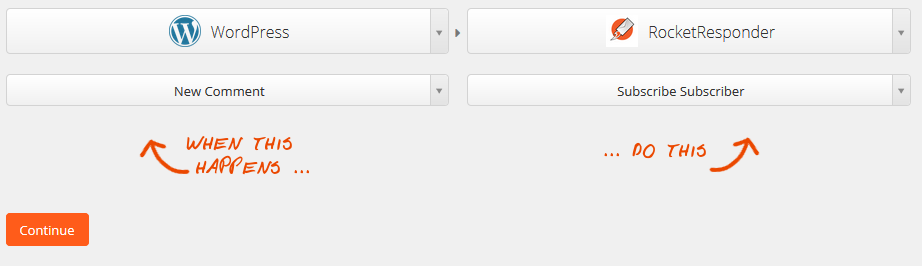
Step 3: Click “Make a Zap!” on the top of any page. On the left side, type in WordPress and select “New Comment”. On the right side, type in RocketResponder and select “Subscribe Subscriber”
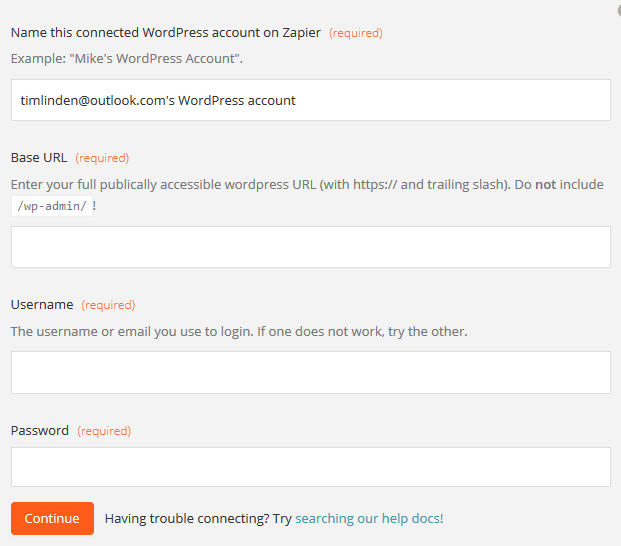
Step 4: Add your WordPress blog. You’ll have to put your blog URL and login information into Zapier.
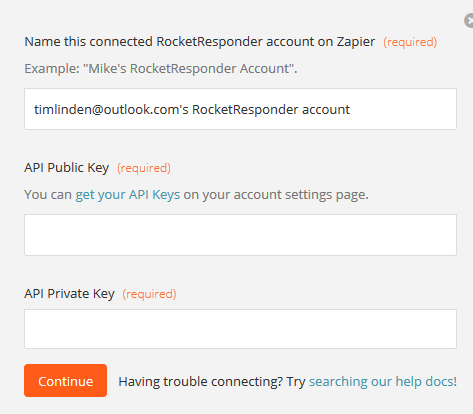
Step 5: Add your RocketResponder account. Rather than using your login info, we use API Keys. The prompt has a link to the page you can copy and paste your keys into.
Step 6: Select a Trigger. I chose Approved simply because I don’t want spammers added to my list. You could leave it empty if you want.

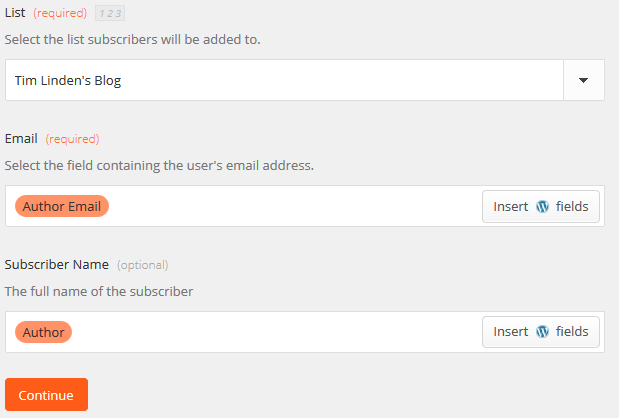
Step 7: Connect the two together. Select which list to subscribe them to, then put Author Email for the email field and Author for the subscriber name field.
Step 8: Click the test button. I’ll be honest, not sure what could go wrong here, but hey click it. Then click the continue button.
Step 9: Give your Zap a name.
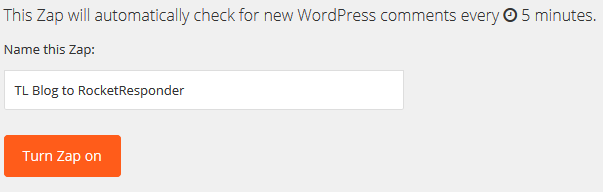 Then click Turn Zap on!! That’s the fun part. Now Zapier will automatically check your blog and if it finds new comments, will send them over to your RocketResponder list. Wahoo!